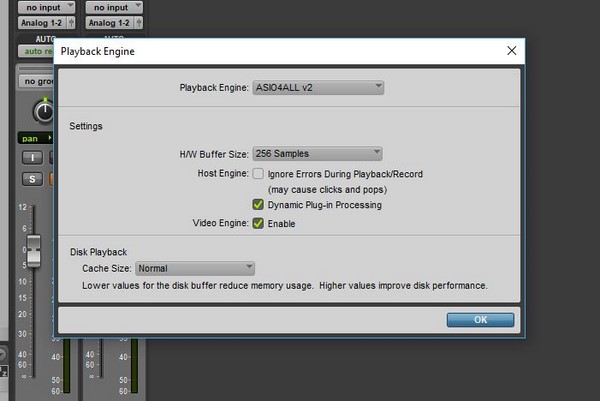
Small tweaks in Pro Tools playback engine can go a long way and help your system run smoother based on your current task. Incorrect settings in the playback engine can also cause errors and crashing during the recording or mixing process. So what setting should you be using? The answer is based on what you are trying to accomplish with your DAW. So, let’s look at the basic principles of buffer speeds and optimization to help you make a decision on what’s right for your situation.
Lower Buffer
Lowering your buffer speed while recording and tracking will help reduce audible latency. The downside of this is that you will be putting more strain on your computer’s CPU and will not be able to run many plugins. In general, it’s best practice to use minimal light-weight plugins to reduce processing requirements while tracking. Plugins can always be changed in the mix phase to a better sounding, more power hungry processor. If you are asking too much of your computer’s processor then you will get audible clicks and pops and possible even recording failure during the tracking process. Try out each setting and see what works best for your current situation. On Pro Tools LE rigs I typically don’t need to go any lower than 256 samples while multi-track recording 24 channels of audio.
Higher Buffer
Setting your buffer to the highest setting while monitoring playback and mixing will allow you to run more plugins and signal processing. There will now be slight delay when you start playback but this is a normal symptom of using a high buffer setting. The slight latency should not affect you in the mixing process but is obviously very hard to work with if you are recording instruments and have any intention for timing or rythym.
Change your Playback Engine settings in Pro Tools
- Click on the Setup menu at the top of your screen.
- Choose Playback Engine.
- In the buffer speed drop-down, select the speed that best fits your situation
Note: Choose a lower setting for tracking or a higher setting for mixing performance.
